Sewing is both a fun and useful hobby. However, not everyone knows how to sew. If you’re wondering how to sew on a patch, but you’re not sure how to do it, this article will guide you through exactly how to sew it on. If you plan to sew the patch on by hand, we’ll explain the process to you one step at a time.
Before You Sew

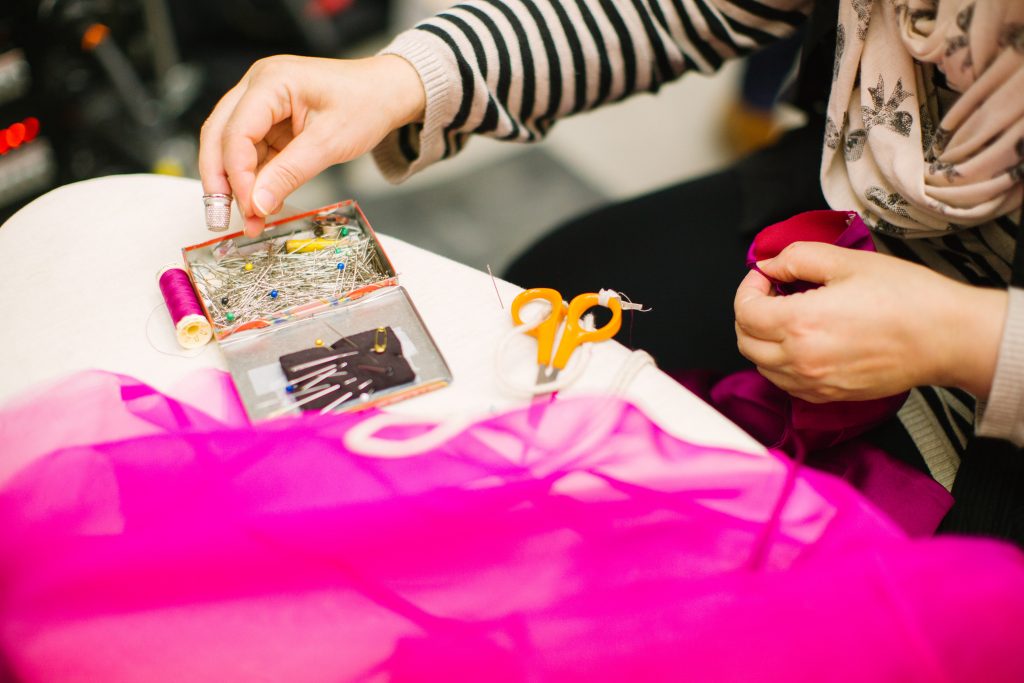
Before you start sewing, it’s crucial to have all of the proper equipment on hand. No matter what garment you’re sewing, you’ll need a needle. You’ll also need the appropriate thread to attach the patch to the piece of clothing. If you’re sewing a patch into a thicker material like denim, pick a sturdier needle to prevent problems when you begin pushing the needle through the fabric.
Selecting the proper thread for your job requires a bit of skill. When determining the ideal thread, look for as close of a color match as you can get. You can match either the color of the patch or the color of the rest of the garment. These will blend in best and give your patch a clean, seamless look against the rest of your clothing. If you can’t find a perfect match, go for a slightly darker shade. It will stand out less than a lighter shade.
On the other hand, if you’d like to use a colorful thread, go for it! The extra splash of color can add a fun twist to your clothing. Just make sure that it matches the rest of your clothes in some way, and test the color out by holding it up to the patch and garment before you sew it on.
You should always wash and iron the clothing you’re going to sew the patch onto beforehand. This step is especially important if you have never cleaned the article of clothing before. You should also make sure to wash the garment before you sew the patch on if the garment uses a material that’s prone to shrinking. A cotton shirt, for example, must be washed before sewing on a patch or else you risk ending up with a distorted, ugly result.
Ironing isn’t strictly necessary if you don’t have an iron available. However, quickly ironing the garment can smooth out any persistent wrinkles and ensure that your patch goes onto the new garment as smoothly as possible.
Finally, you’ll also need some miscellaneous tools like scissors, fabric tape, and bobby pins. These tools may seem superfluous if you’re just wondering how to sew on a patch. However, they will make the job go much faster and provide much-needed help to support the needle and thread.
First Steps
Once you have all of your materials assembled, you can begin with the first steps. Don’t break out the needle just yet! First, you should line up the patch where it will fit on the apparel. Secure it with fabric tape or a safety pin and try the garment on before you sew it. Check to make sure there aren’t any wrinkles and that the patch looks precisely how you want it to look.
Then, secure the patch to the fabric and prepare to begin sewing it. Use as many pins or pieces of tape as you need to make sure that the patch stays in place and doesn’t move — the goal is to keep it as flush against the garment as possible. Holding it with your thumb and finger can also help prevent it from moving.
When you begin sewing the patch, make sure that your stitches fall in an even line. Leave at least ⅛” of space between the stitches and the edge of the patch — any closer to the side, and you risk the patch coming undone at points.
Finishing Sewing

Keep sewing around the perimeter of the patch until you reach the beginning. If you have any excess thread, push the needle through the fabric, pull the thread down, and trim it off with scissors. Trimming the thread will prevent the extra material from scratching you when you wear the garment.
Once you’ve finished sewing and have cut off any excess thread, the article of clothing should be good to wear!
Remember to keep a few extra tips in mind as you sew. First, if you’re sewing through a particularly robust fabric or you’re worried the stitches might come undone, use a thicker, bulkier thread. You can also double thread the needle to create a stronger sew without needing to buy different thread. To use this technique, run multiple strands of thread through the needle at a time.
After You’re Done

After you’ve finished sewing on the patch, try on the garment once again. If your patch covers any areas where the garment moves or twists, test it out by moving around in the apparel and bending your joints. If the patch comes undone, you can re-sew it once again. It’s better to know now when you have all of your sewing materials out!
If the patch holds up, you can go ahead and wear it normally. When you need to wash the piece of clothing, try to hand wash it or spot wash it whenever you can. If you decide to throw it in the washing machine, use the most delicate setting available and let it hang out to dry. Keeping it out of the dryer will preserve the lifespan of your patch and prevent damage to your clothes.
Summary

Many people regard sewing a patch onto a garment as a difficult task or one that needs to be done by a tailor. The reality couldn’t be further from the truth. As long as you have the proper materials and stay cautious around sharp objects, sewing on patches can be an easy and fun way to inject some personal flair into your different clothes. Happy sewing!


