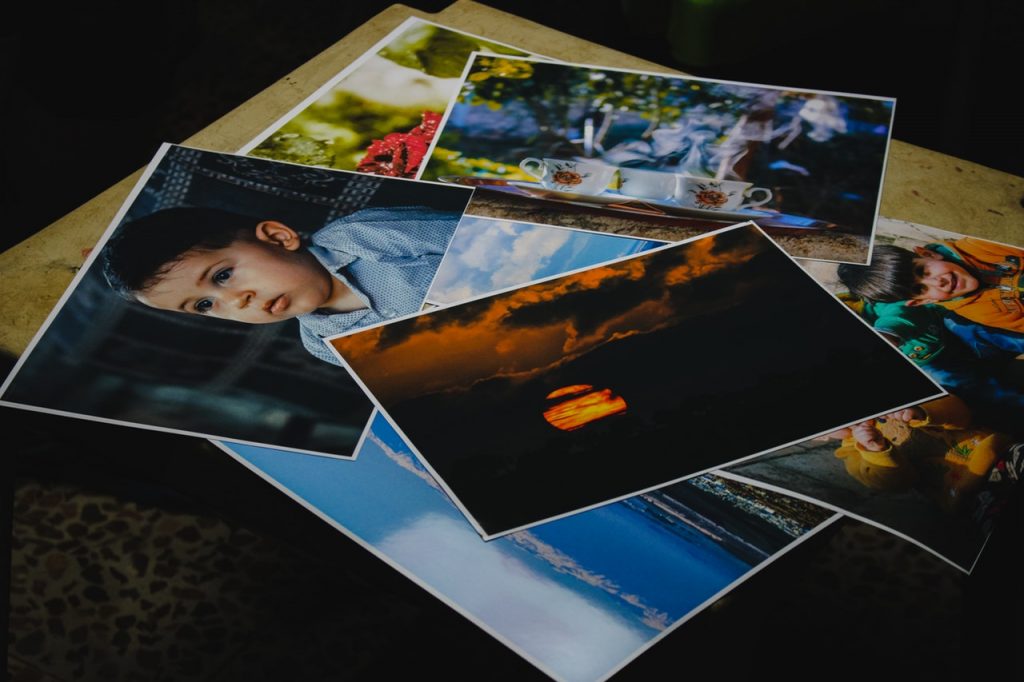
Photographs can hold some of our most cherished memories. As these pictures age, however, they can accumulate damage and wear and tear that threatens to ruin the image. To protect your photos well into the future, you’ll need to find a precise method to preserve them.
Laminating your photos is one of the most convenient ways to protect your favorite pictures from damage without harming the images themselves. Even better, there are multiple ways you can laminate your photos.
Each laminating method requires a different amount of materials on hand. Keep on reading below to figure out the differences between each strategy. Then, determine which one is right for you depending on your budget and materials on hand.
Different Laminating Methods
The first laminating method is also the traditional way: using a laminating machine. If you have access to a laminating machine at your house or in your workplace, use it to preserve your photos for the future.
This method doesn’t work for everybody since it requires a particular machine that you can’t use for anything else. However, if you have the budget, a laminating machine requires the least involvement from you to laminate your photos. Many users also say that using a laminating tool will make your pictures look better than other available methods.
Sometimes you can’t use a laminating machine or don’t want to deal with the hassle. You can also laminate your photographs by hand using single-use laminating sheets. These sheets effectively function as two adhesive pages. You place your photo down and press it in between the two layers to remove any air, resulting in a beautiful laminated image.
This method is undoubtedly more intuitive, and you can do it without a bulky laminating machine. However, if done improperly, it can lead to laminated photos not being appropriately centered. It can even leave air bubbles in the image after you’ve laminated it.
Finally, you can also take your photos to a professional copy shop and have them laminated there. Taking them to a shop may cost more than doing it yourself, but it will save you time and ensure your photos are laminated correctly. If there are any issues during the process, the copy shop can help you fix them before you’re stuck with the final results.
Copy shops may offer a discount if you bring in large numbers of photos to laminate. Call your local shop or stationery store to ask them about any exclusive bulk deals or discounts. Getting a discount can bring the cost of using a copy shop back in line with just using a laminating machine yourself.
How To Laminate Your Photos

Now, we’ll take a look at how you should laminate your photos with each method. Though the steps vary, the basic principles remain the same across all of the different strategies.
Laminating Machine

When you use a laminating machine, you’ll need to wait for it to heat up first. Placing your photos into the device before it’s reached the proper heat can lead to a shoddy, terrible-looking laminated product. In many cases, it can ruin photographs that you’ve preserved very well.
If your laminating device offers a cold setting, use that to laminate your photos. Do your research online before laminating your photographs under the hot setting. Advice varies, but some sources warn that running your pictures through a scorching laminating machine can damage them or destroy them entirely.
Remember that you laminate your photos at your own risk — it’s always better to check beforehand and know the facts for sure. Otherwise, you risk accidentally ruining prized memories and other photographs.
To use a laminating device, you’ll also need to place the photo in the pouch correctly. Make sure that the adhesive does not escape from the pouch when you feed it to the laminating machine. Leaking adhesive can cause dangerous buildup in the laminating device and even shut it down completely.
Hand Laminating

Laminating your photos by hand requires a bit more preparation than just using a laminating machine. You’ll need to purchase single-use laminating sheets, available online and at most major stationery stores. Before you laminate, you’ll also want to brush off your photo to ensure you don’t seal any fingerprints into the laminated version.
Spread the two adhesive sheets out on a flat surface and remove the adhesive cover from one of them. Press your photo down into the adhesive, then press the other sheet of adhesive into the back of the photo. Roll the photo out with a rolling pin or another similar object to ensure that no air stays trapped in the laminated photo.
Once you’ve successfully sealed the photo between the adhesive shapes, flatten everything out and trim the edges off of the adhesive sheets. ¡Voila!
Copy Shop

Taking your photos to a copy shop to laminate them requires the least personal work of all three methods listed here. Just find the nearest stationery store and call them beforehand to make sure that they can laminate your photos.
It may also be a good idea to call multiple different stores if you have a large number of photos that need to be laminated. The shop will appreciate you giving some notice before you place a large order — it may even lead to a decent discount!
Summary

Laminating your photos is a fantastic way to preserve them for the future. When done properly, laminating is simple, inexpensive, and painless. However, it’s important to know all of the facts before you laminate — ruined laminating jobs can ruin the images altogether!
After you pick the laminating method that’s best for you, read through our guide and do some extra research to determine the perfect technique to laminate your photos. With just a few simple steps, you can preserve your memories to last a lifetime.


